
Play really is the most powerful of all tools to grow confidence, resilience and human connection, and Gaga Pits create the perfect opportunity for developing social, emotional skills, especially in kids.
You should absolutely have a Gaga Pit in your primary school, early learning center, your community space, business or home. Your kids, BIG and little alike, will have HOURS of good old fashioned fun and belly laughs to fill them with joy, and you’ll be doing a community service by providing these opportunities for personal growth.
How do you build a Gaga Ball Pit?
Building a Gaga Pit can be relatively easy for a handy person with access to the right wood working and ground preparation tools. You should expect it to take a few full days to a week of planning, building and installing and you will want to check prices of materials first to ensure you stock to a budget. Follow our steps below to get ready and build your own.
Steps to building a Gaga Ball Pit:
1. Decide on a size for the Gaga pit
2. Decide on your location & prepare the area
3. Choose your design, plan the build & source materials
4. Installation day!
1. Deciding on the size of your Gaga Pits
A Gaga Pit can be hexagonal or octagnonal shaped and so the length of each side panel will determine the overall size of it. We have sourced these super handy tools for you to work out the measurements.
- Hexagon Calculator - https://www.omnicalculator.com/math/hexagon
- Octagon Calculator - https://www.omnicalculator.com/math/octagon
Things you might want to consider regarding determining your Gaga Pit size are:
- How many kids you would like to play at once
- How much space do I have for this project? Measure your space and allow for extra space around the pits for players to exit on all sides and to be able to watch the game from all angles, also hoping to catch that stray ball.
- What lengths of timber can you procure for the project? It may be worth sticking to side panels of the size of your timber pieces to reducing your cutting time and wastage
2. Choosing a location and most suitable surface for your Gaga Pit and preparing the area
When choosing the best spot for your Gaga Pit there are a few things will you want to consider.
- How much ground preparation will be required - Ideally you want to avoid a site the requires a lot of attention to provide a level, well drained and bouncy surface. Ground preparation can take time and be costly.
- Consider the surrounding area - Will balls fly over fences and end up in neighbours yards, will there be enough room for people to get out of the pit when they are eliminated and to stand around the pit
-
What is the best surface for playing Gaga? - We cover this whole topic in our Ultimate Guide to Gaga Ball.
Prepare the area to be level, well drained and to have a good surface for bounce. The last thing you want is a puddle of water in the middle of the court.
3. Choose your design, plan the build & source materials
There are plenty of images of Gaga Pits floating around the internet that you can get inspiration from, and if you are handy you might even have your own ideas.
Our preference as builders of product is to choose a design that:
- Looks finished and professional - Things like adding capping and upright supports will make your end product not only look better but will perform better over time also. If you want a product to last - go the extra distance on design.
- Use locally sourced and sustainable Australian timbers appropriate for children’s spaces. Don’t think twice about sourcing the most natural timbers you can for these spaces, little people and play spaces are not the environment to scrimp.
- Are easy to install. We don’t think a Gaga pit needs to be cemented into the ground, whilst this method will always add another element of strength, if you get the design right in the first place you really shouldn’t need this excessive step that adds time and money to your project. Just choose a good design that will ensure strength in the frame.
-
A Gaga Pit edge height should be somewhere between 60-90cm depending on the main age of the competitors.
When planning your build and sourcing your timber you will want to consider:
- Timber quality and prices. Purchasing a high quality and sustainable Australian timber is our preference for longevity and peace of mind. Your local hardware store is the best bet, unless you have contacts to get timber cheaper.
- Timber sizes - choose closest to your desired size to reduce wastage
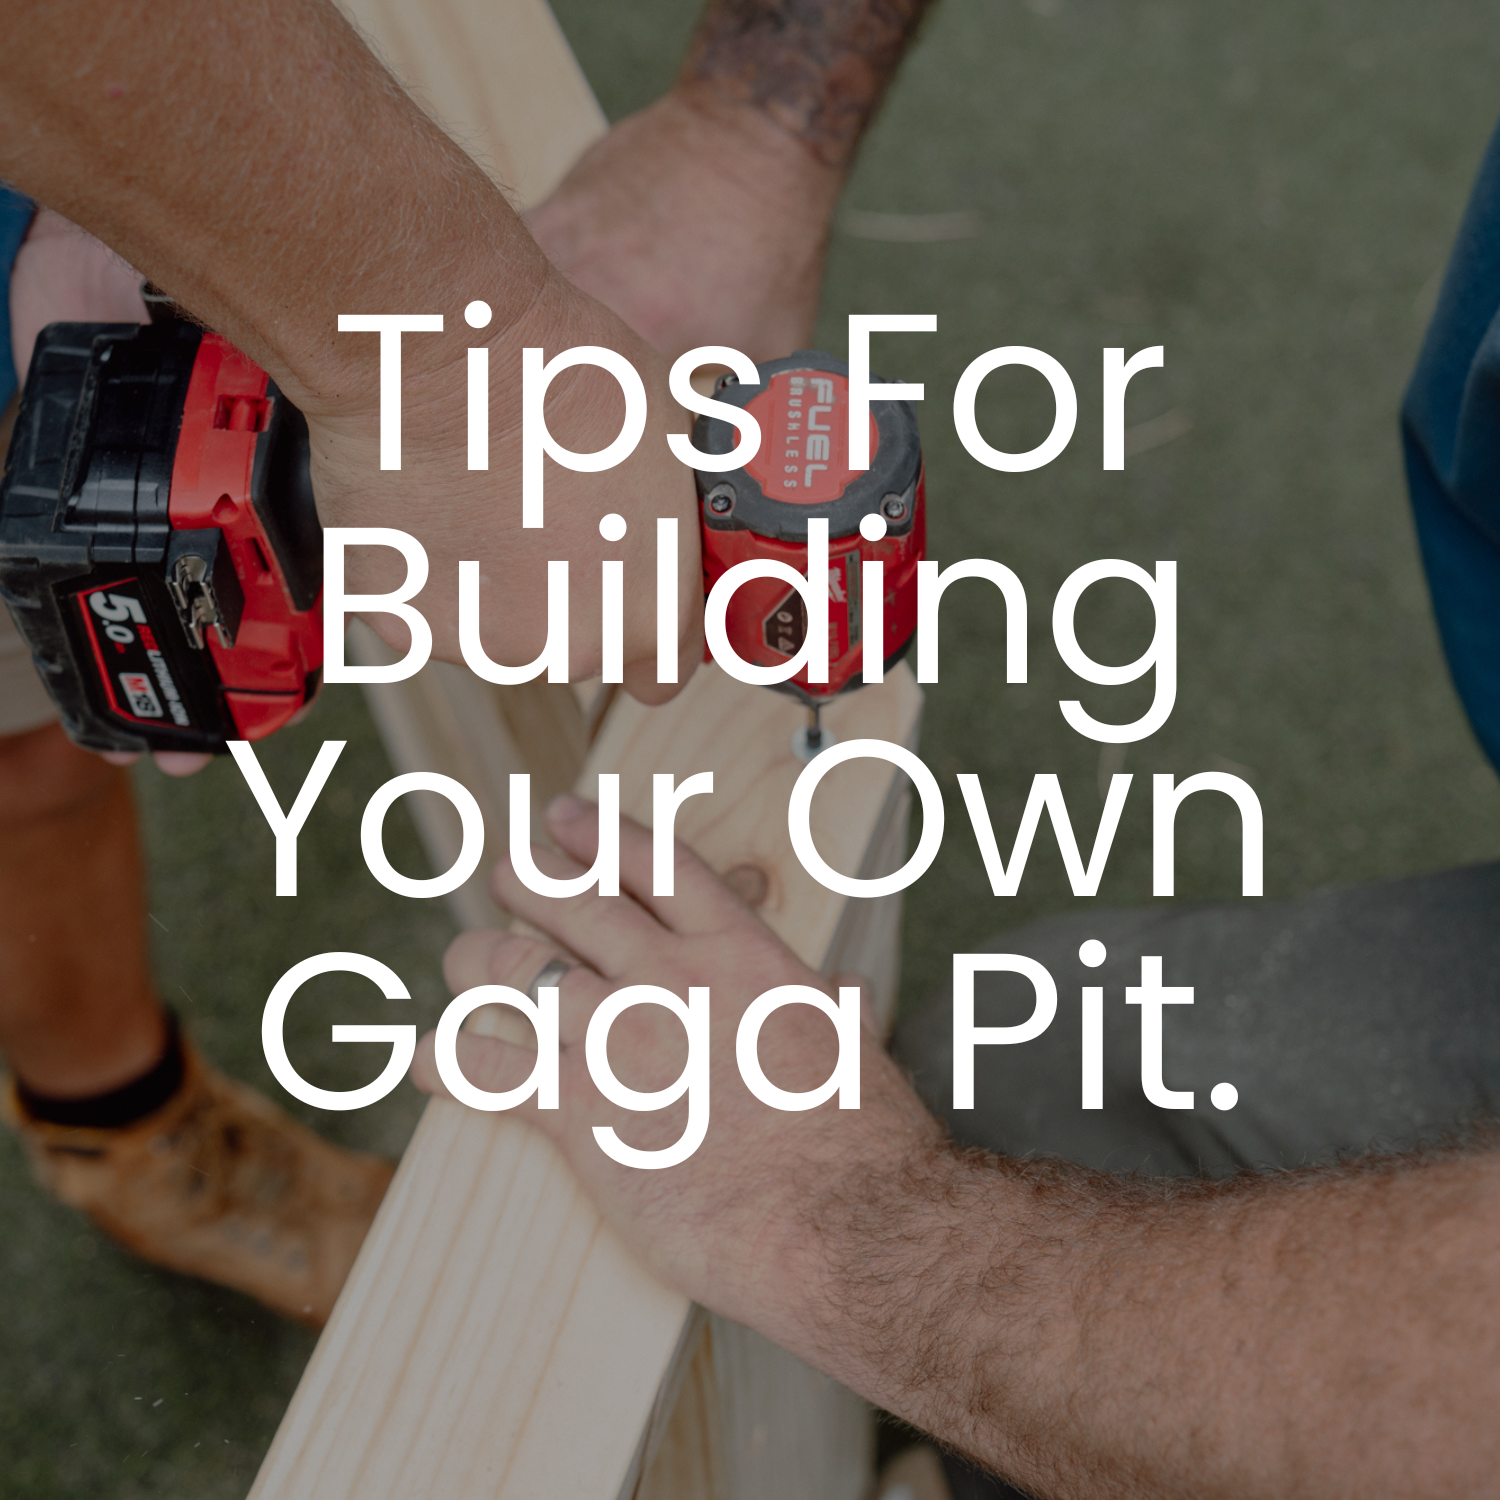
- What tools and space you will need to build. Tools you will need are:
- Drop Saw or Circular saw
- Possibly Table Saw depending on your design and access - this tool will make it easier for ripping timber
- Orbital Sanders to ensure a smooth surface
- Drill driver and impact driver set for fixing
4. Installation Day!
Congratulations for getting this far! Now that everything is built you can install onsite with the help of some extra workers for carrying and lifting your items into place.
ENJOY!
Enjoy the play and if things get a little overwhelming in the process just know we are always a call away to send a full formed Gaga Ball Pit Kit to you for easy self DIY Installation or we can send our teams to just get the job done also.
Our Gaga Pits are designed strong, built to last, and to be placed on any ground surface without requiring concreting. View our range here: